A lot of excitement comes with a brand new PC as you upgrade to a machine that offers more power, more storage, improved graphics, and a lot of new features. This excitement may be lost, however, when you think of transferring your gigabytes of data to the new computer.
If you are looking for a few convenient options to ensure seamless PC to PC data transfer, you can opt for direct file transfer or choose to transfer files with FastMove. Let’s explore these options.
With direct file transfers, you have to move files between PCs directly without any need for separate software. For direct file transfer, follow one of the methods below.
While you may have a limited storage capacity to work with here, USB drives allow direct file transfer between PCs without any need for internet or a local network. It’s the most common but probably the most tedious option for PC to PC data transfer. Here’s how it works:
You can use your preferred email to move up to 25 MB of data. Even though the data limit may not be enough in most cases, it is still a good option for moving your important documents. Here are a few simple steps to follow for file transfer via email.
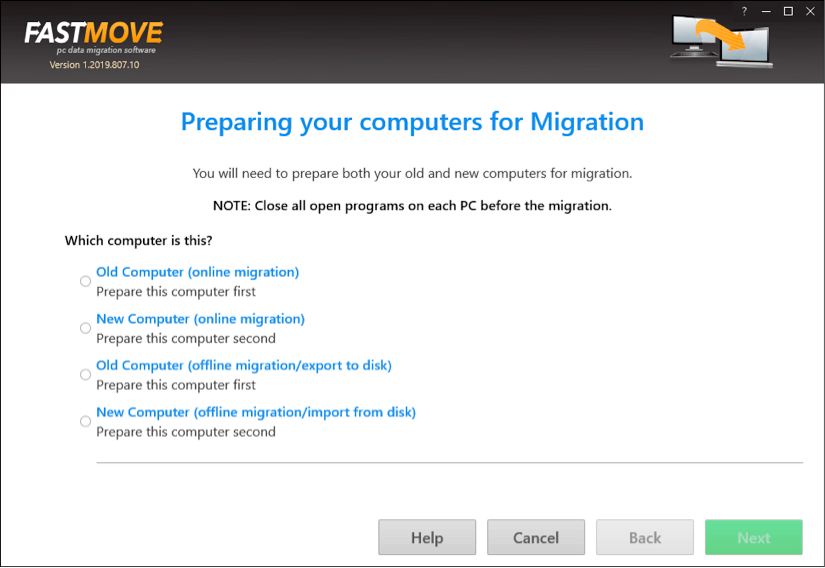
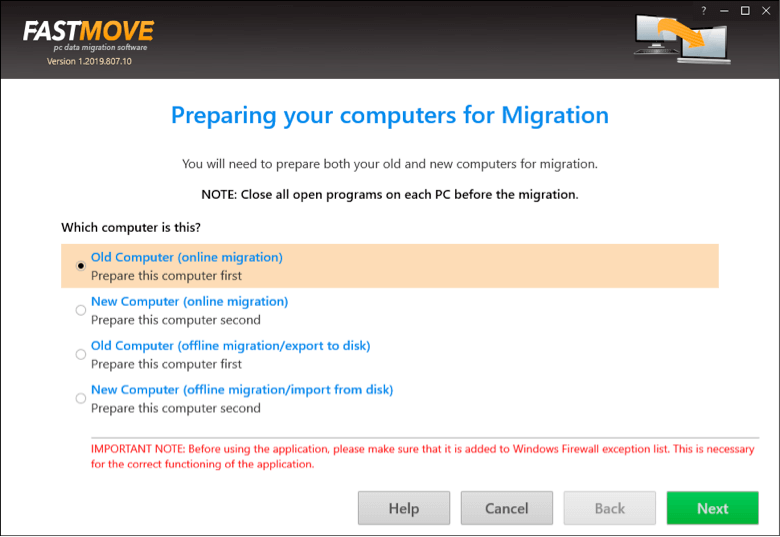
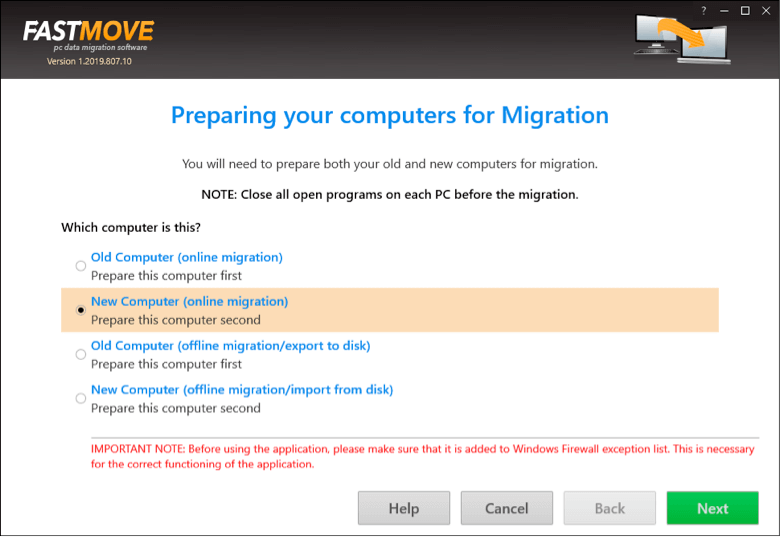
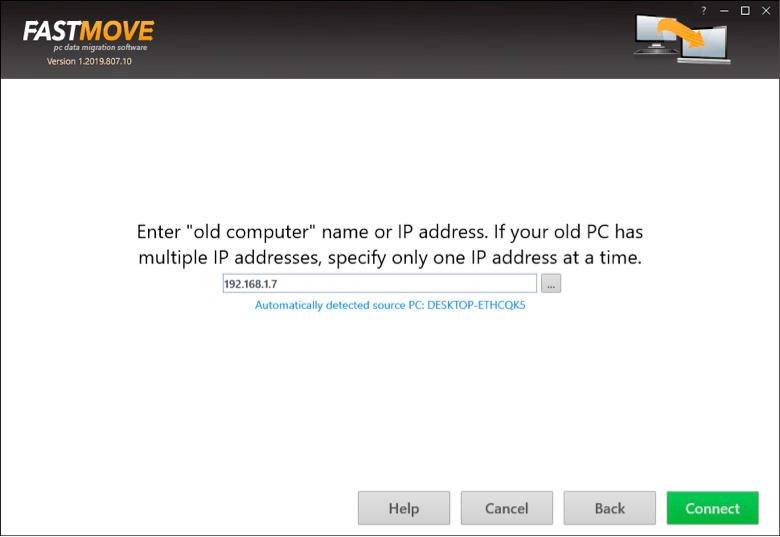
If you want to avoid the pitfalls of the methods above, you can use some credible PC to PC data transfer software. FastMove is a good choice as it offers speedy data transfer between PCs in a couple of simple steps. The best part is that FastMove can work both online or offline, and you can move data between different versions of Windows (for example, from Windows 7 to Windows 11).
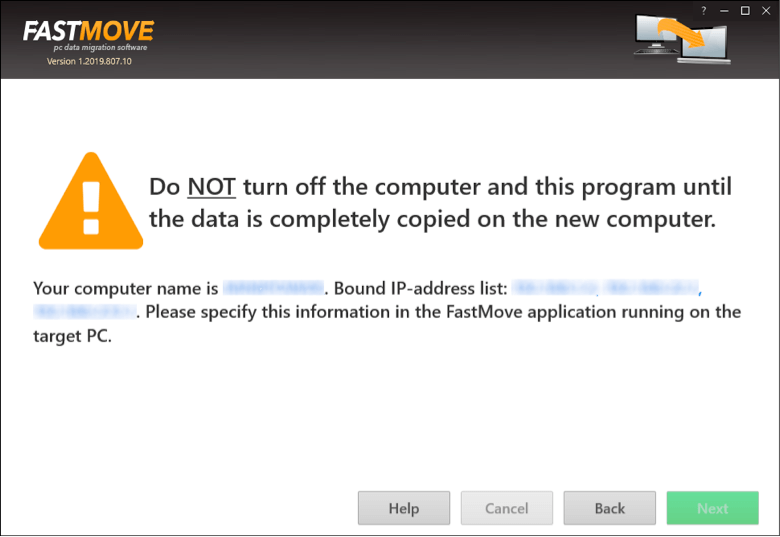
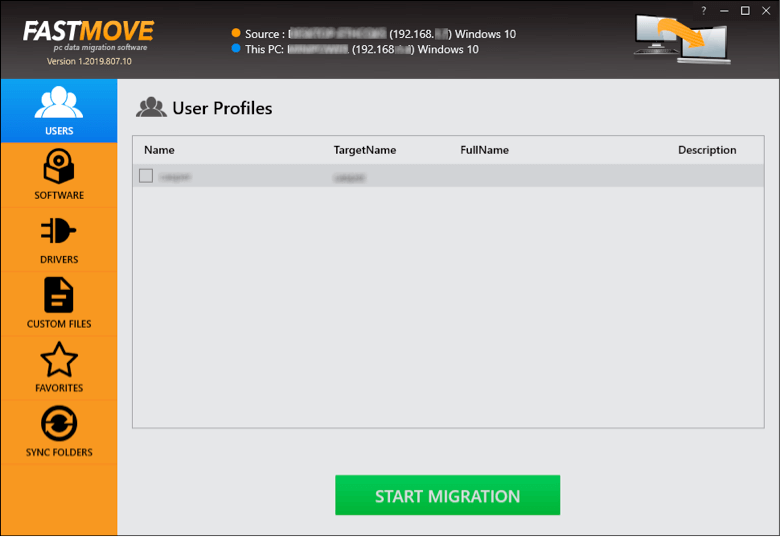
Once you have installed FastMove on both of your PCs, follow the steps below to complete the data transfer:
The software ensures lossless migration of data between Windows PCs and can move everything, including your installed programs, user accounts and settings, device drivers, etc.
If you ever need to move data between your Windows PCs, opt for FastMove to ensure a seamless and speedy data transfer. While other options work well enough, they have their limitations, and PC to PC data transfer with FastMove should be your way forward.