Buying a new Windows PC is a bit like moving house - you have to either set it up from scratch or find a way to move everything from your old computer. Usually, that includes all your files, settings, software, and more. If you aren’t an advocate of minimalism who has everything stored in the cloud and only uses cloud-based software, then you have a bit of a problem because installing all your software on the new machine will take a lot of time. In addition to that, the fresh installations will be nothing like the familiar setup on your old system. The solution? Transfer software from the old computer to your new laptop!
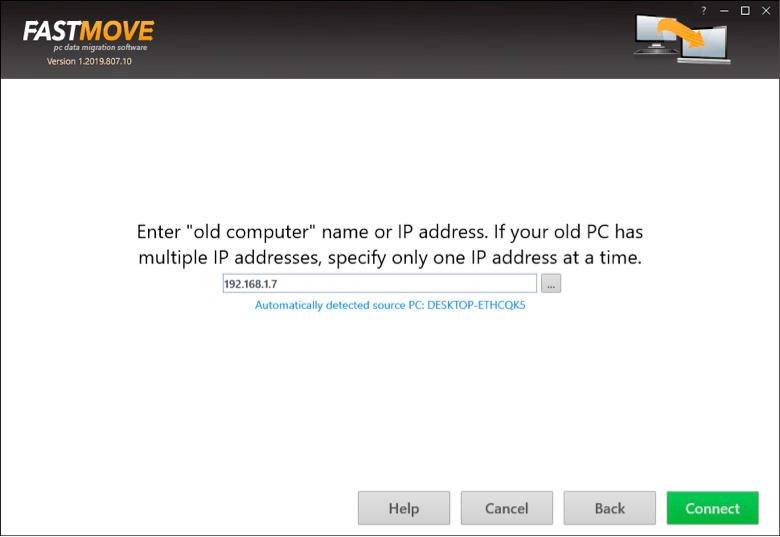
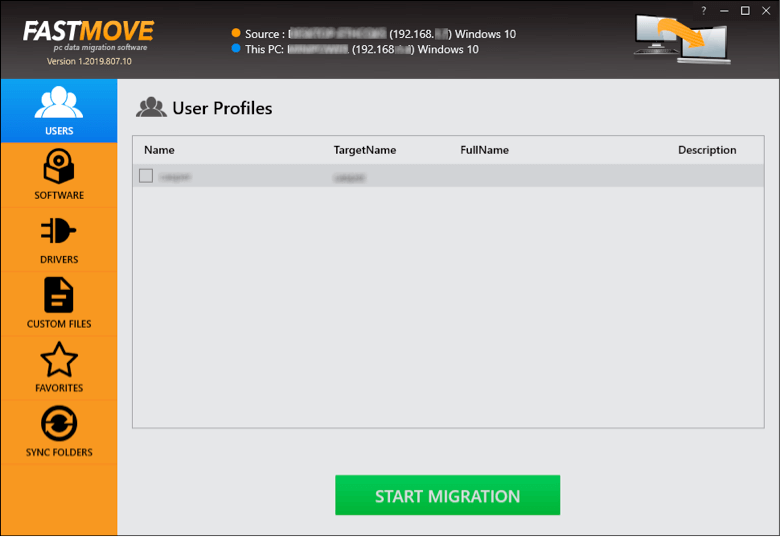
The easiest way to transfer all your installed software from your old PC to the new one is to use a data migration program like FastMove. The benefits of using special software are huge: you’ll be able to transfer everything, including your software, user profiles, settings, and files, automatically in just a couple of clicks. The best part is that everything will be set up and configured just like on the old computer because the software will simply be copied, not installed from scratch. You’ll be able to use all your programs right away!
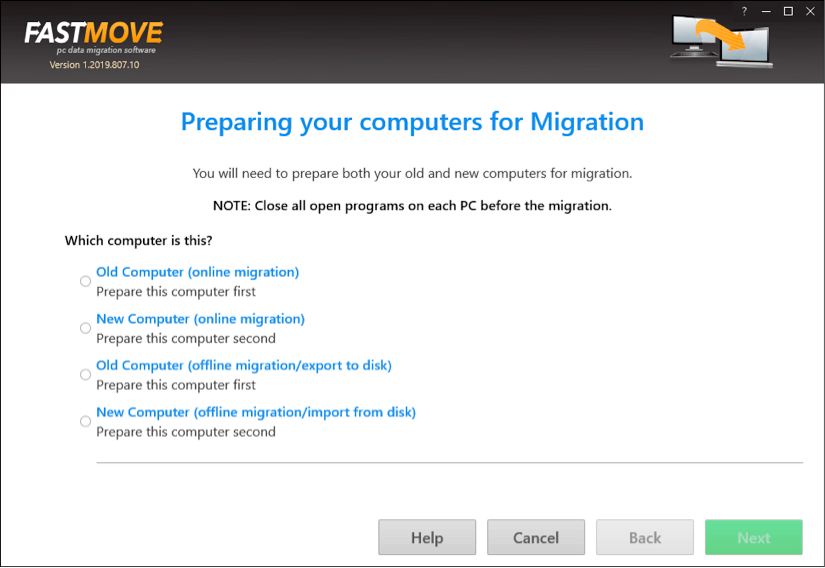
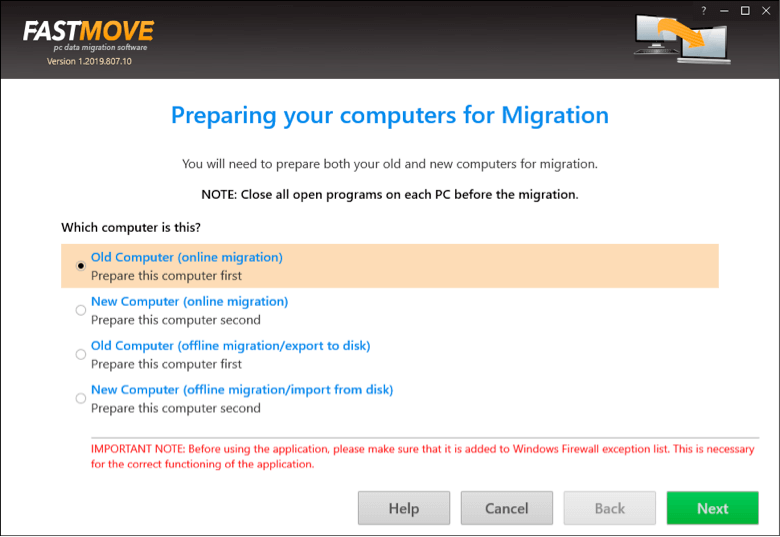
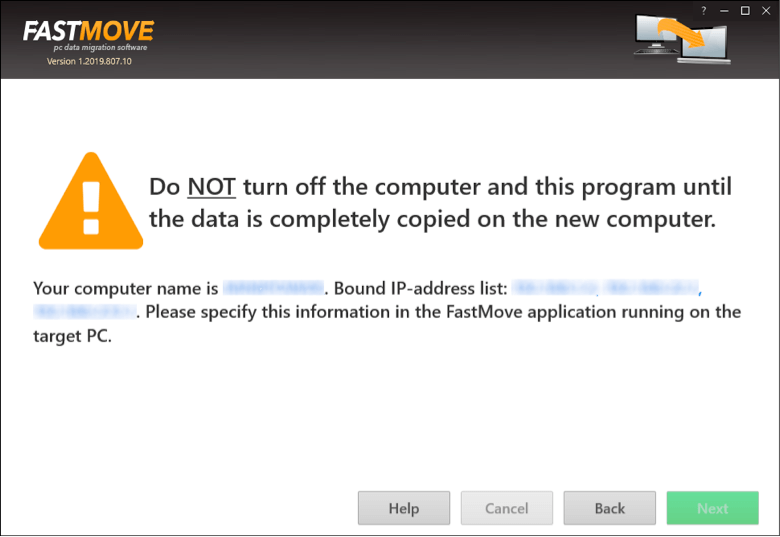
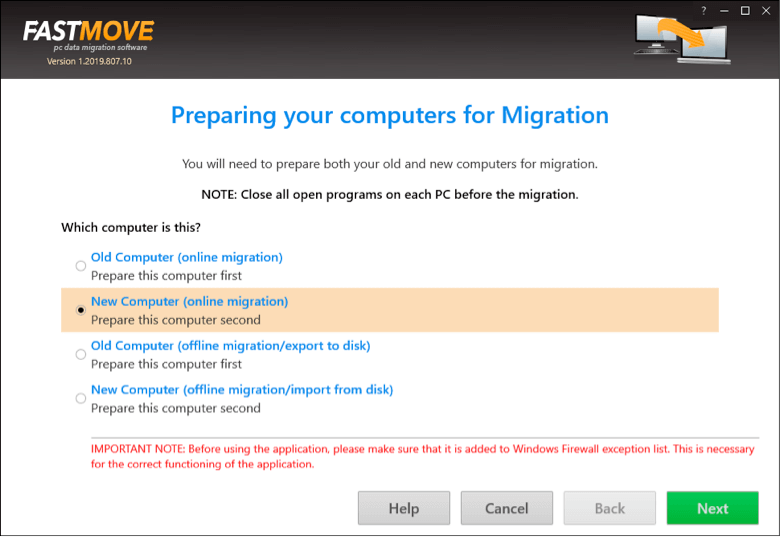
Here’s how to move software with FastMove:
Another way to move software from one computer to another is to take the old-fashioned manual route. You can do that either with the help of an external hard drive or by using a special Windows transfer cable that connects two computers directly.
If you’re using an external hard drive, you’ll need to make sure you have the installer .exe files at hand because you’ll need them to install the software on your new PC. You’ll also need license keys to register your software again.
If you decide to purchase a Windows transfer cable, choose carefully because some cables are able to do the whole job for you and move already installed software with the help of a special utility that comes together with the cable. You will still need software license keys, though, because cables can’t transfer license information.
On the whole, we recommend taking the automatic migration route because it will save you time, money, and ensure that there are no compatibility problems whatsoever.


