Did you try to install Windows on an older computer and couldn't do that because your CPU is not compatible with a seamless upgrade where all your content is kept the way it is? Luckily, it is possible to install Windows 11 on machines with older CPUs without having to reformat your drive and destroy your content. You won't even have to burn the ISO to an external USB drive!
Install Windows 11 on Unsupported CPUs Easily
If you're trying to install Windows 11 and getting messages like "This PC doesn't currently satisfy Windows 11 system requirements" or "The CPU isn't currently supported for Windows 11," there's a Microsoft-approved registry hack you can use. We've tested it on a couple of computers that aren't listed as supported by Microsoft and it worked.
All you need to do is follow these simple steps:
First of all, you'll need to grab the ISO file. This is the only way you'll be able to install Windows 11 because it won't work with the Windows 11 Install Assistant or Windows Update. It can't bypass Microsoft's PC Health Check program either, according to our tests.
You can download the ISO file from Microsoft's website.
While the large file is downloading, move on to step 2.
Now you'll need to edit the registry to make sure installation won't get block by Microsoft's checkups. For that, you'll need to use the Registry Editor.
To open the Registry Editor on Windows, go to Start, type regedit, and then press Enter. Navigate to ComputerHKEY LOCAL MACHINESYSTEMSetupMoSetup by pasting the entire address into the box directly beneath "File, Edit, View, Favorites, Help" or by diving down through the HKEY LOCAL MACHINE, System, Setup, and MoSetup folders one at a time.
Right-click in the right pane and select New > DWORD (32-bit) Value. Remove the quotations from the value "AllowUpgradesWithUnsupportedTPMOrCPU." Double-click the newly formed value and type 1 into the Value data box. Click OK to exit the registry editor.
Now you're ready to proceed to step 3.
Now that the ISO file has been downloaded to your system, double-click on it to begin Windows 11 installation and follow the prompts.
If the registry hack has been implemented correctly, you should shortly see a warning message rather than a rejection message, and you should be given the choice to install Windows 11 without losing your data.
The only downside of this method is that Microsoft reserves the right to withhold security updates. That's why you should consider eventually getting a new Windows 11 computer.
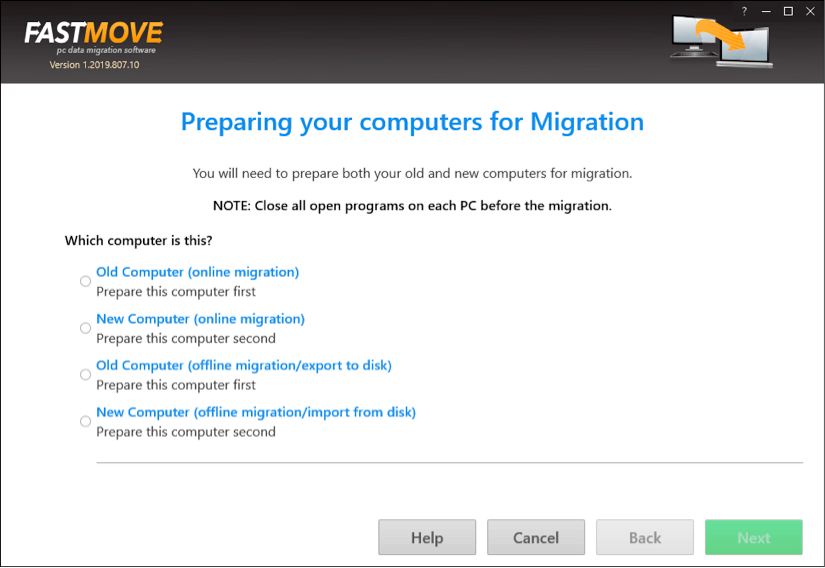
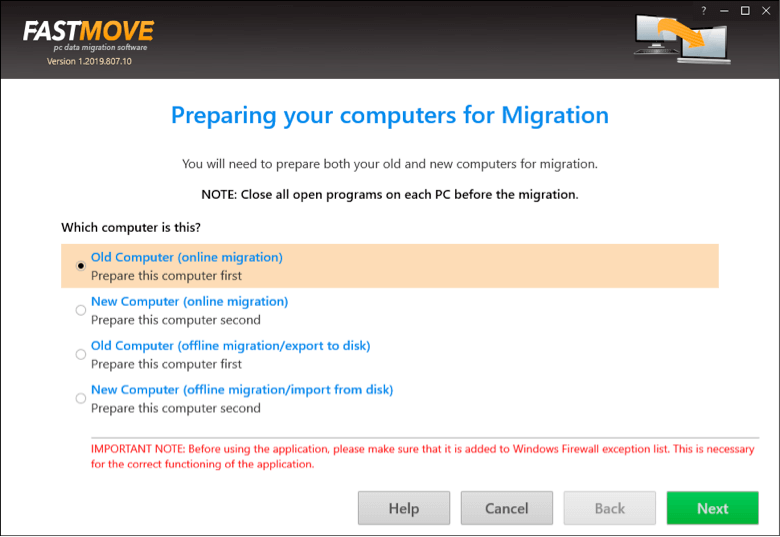
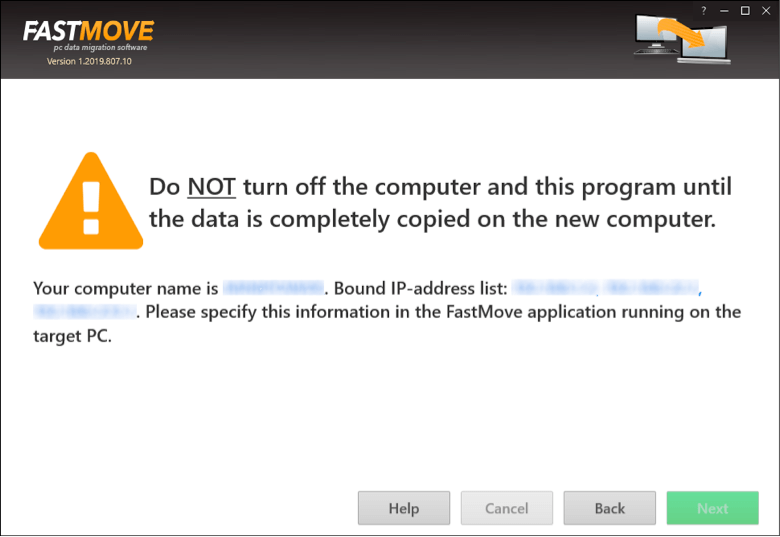
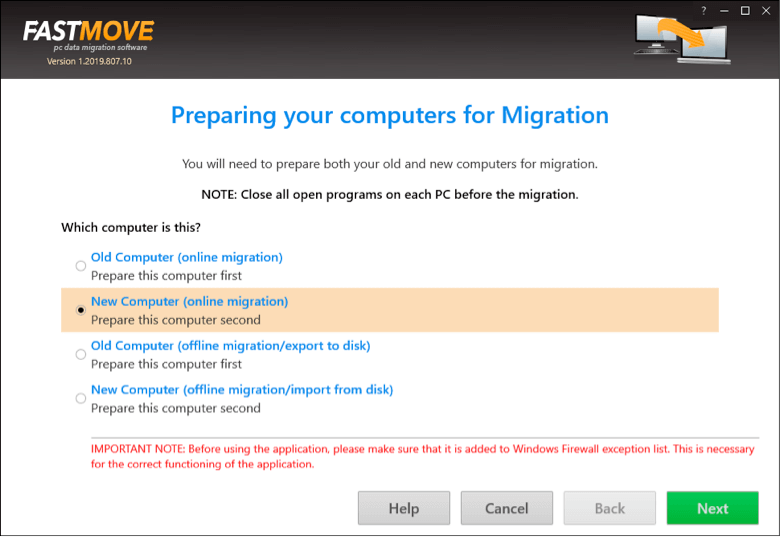
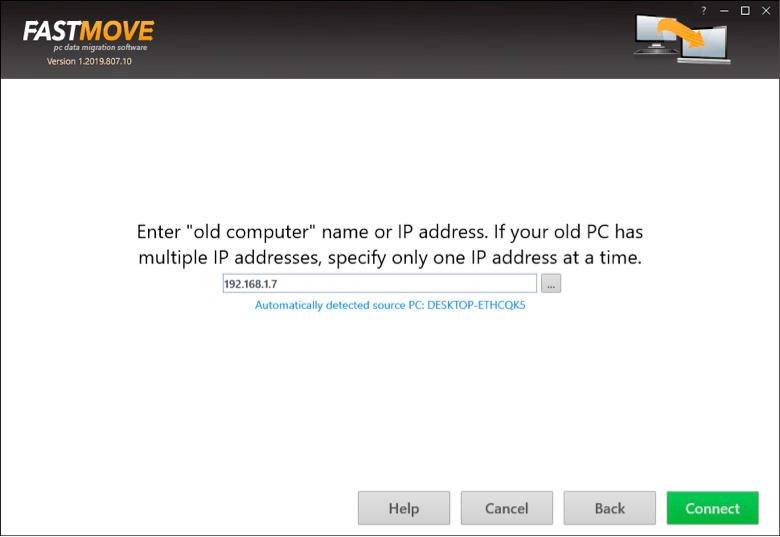
Got a New Windows 11 PC? Move All Your Data to It with FastMove!
Getting a new, modern computer that will support Windows 11 right out of the box is by far the best route to take. However, many people avoid doing that because of the hassle of setting up the new machine and having to configure everything from scratch. Not to mention installing all their favorite software all over again. Luckily, FastMove takes care of all that.
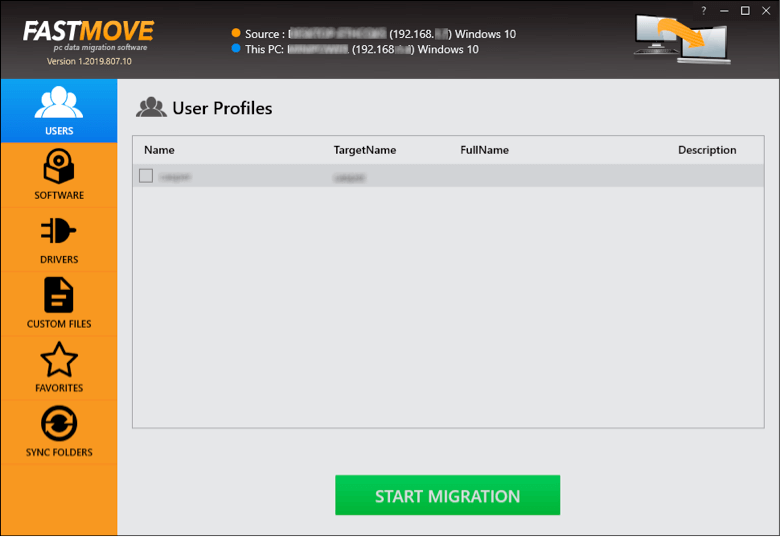
With FastMove, you'll be able to copy all your user settings, software, files and folders to the new PC in no time. Everything is done automatically and your new laptop will be configured just like the old one, with all the benefits of Windows 11.
With FastMove you can:
So, what are you waiting for? Download FastMove today and seamlessly copy everything from your old PC to the new one!