It's great to have a new computer, but it's not great to realize that all your stuff is on the old one. Data migration is a necessary process in today's world. Whether it's about shifting information to a secure location or installing new hardware, having a solid migration process can help you both save your time and resources.
According to Gartner data, about 50% of migration projects can harm a company's budget by incurring unnecessary expenses. That's because data migration process is often complex, especially if you don't know what and how to do it.
Thankfully, there are a variety of different methods you can follow to migrate your data seamlessly. Read on for our comprehensive guide on the best practices for Windows PCs data migration.
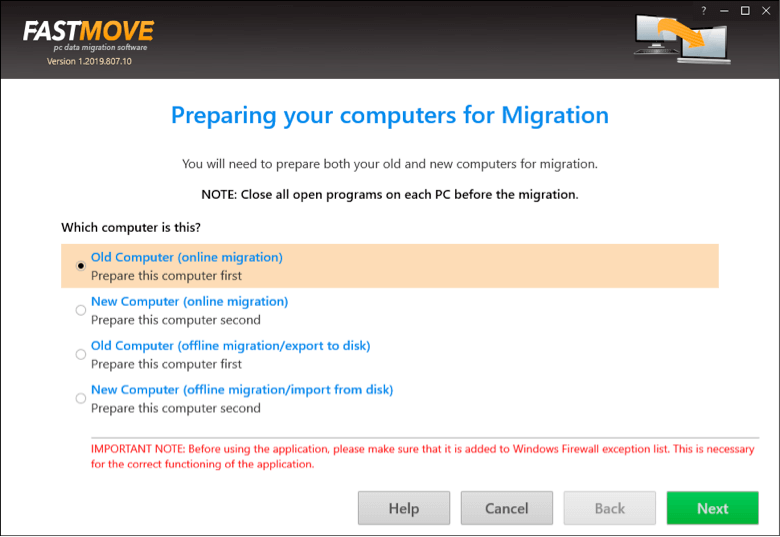
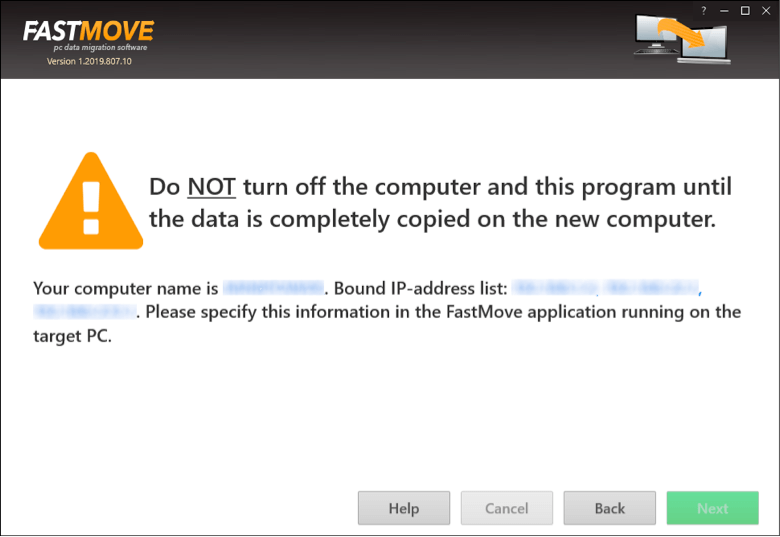
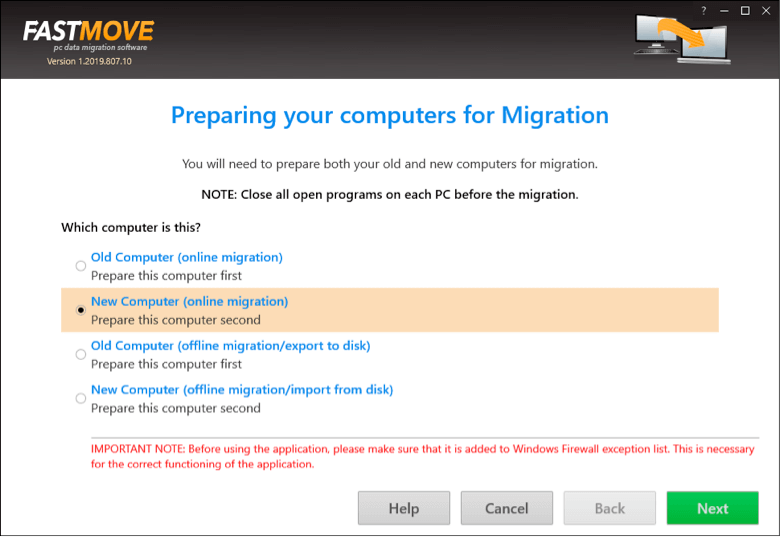
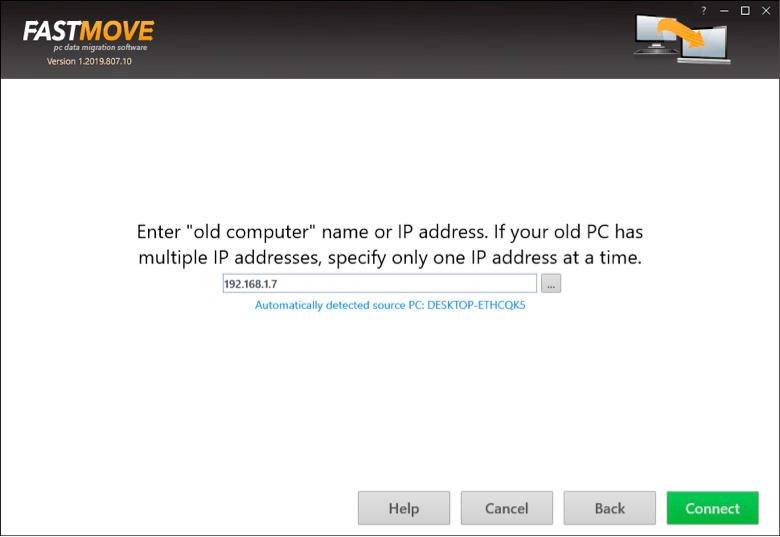
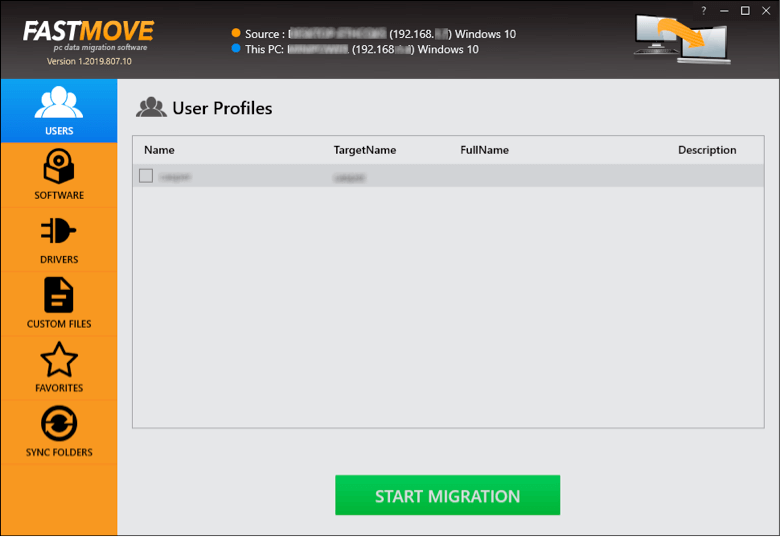
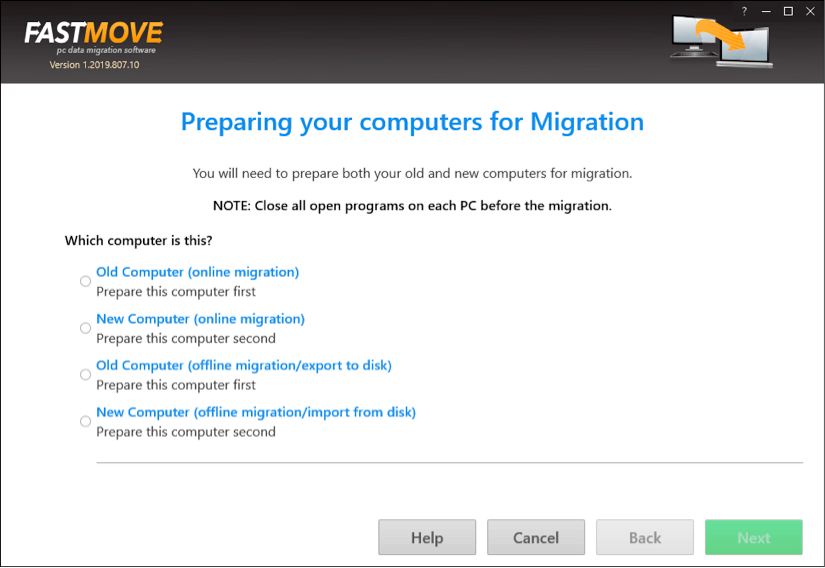
If you want to save yourself from the trouble of migration, this option is the best for you. Software like FastMove can help you migrate all your data really quickly. And by data, we mean everything - your user account, browser preferences, device drivers, folders, files, settings, custom files, and even installed software. It will feel like you're using your old computer, just with new hardware and operating system. All in all, it's a great way to migrate to Windows 11 from an older system!
Windows, even the good old version 7, is a complex operating system with data that resides outside of your typical folders. Think of all the preferences, passwords, and everything that exists on your computer without being saved into one of your user folders.
Thankfully, Windows OS allows you to use the disk imaging feature to copy all your data to a new computer. Basically, it simultaneously copies your entire system and saves it as a bootable image. You can use this image in case of an emergency or when migrating to a new computer. The downside? Your operating system gets copied along with your data, so it's not an option if you want to move from Windows 7 to a brand new Windows 11 PC.
Increasingly, organizations are using cloud storage to store their data. This helps them to improve scalability and reduce the risk of technical errors. You can follow the same strategy and import your data to a cloud platform so that you can download it to any device, anytime. Some of the popular options in this category include Google Drive, GigaBox, and Dropbox.
Again, there's a downside to this method because it can only be used for files and folders, not for user profiles, software, and other settings.
This may already sound like an obvious choice, trust us, it's a very solid option. If you don't care much about your system preferences and all the settings (and software), then you can use an external drive to copy/paste all your data. Normally, external drives with large capacity can be a bit costly, but if your data is limited, then it's well worth it. Just buy an external drive, copy the data to it, and then copy it to the new PC whenever you want to.
Wi-Fi has pretty much become the standard but sharing huge files to a new computer or drive is still more efficient over a LAN network. If both your computers have an Ethernet connection, then you can use a LAN cable to transfer your files at a blazing-fast speed. All you have to do is enable network sharing, set up a static IP on both computers, and you're all set.