When you buy a new computer, the most difficult part is getting it to look and feel just like the old one. After all, we are creatures of habit and like to have our folders, files, settings, and customizations in place. While you could manually configure all your user settings on the new machine, there’s a much easier and quicker way - migrate a Windows user profile from your old computer to your new machine.
In this article, we’re going to show you how to do it in just a couple of simple clicks.
Back in the days of Windows Vista, Microsoft introduced a brilliant tool that made moving files, folders, and even user settings from one computer to another a piece of cake. That tool was called Windows Easy Transfer. Indeed, using it was very easy and readily available for free - all you had to do was launch the simple utility and follow instructions.
When Windows 10 was released, Windows Easy Transfer got discontinued and that put an end to built-in data transfer on Windows. Luckily, there is a much better and more powerful alternative to Windows Easy Transfer - FastMove.
With FastMove, you can migrate Windows user profiles between all types of Windows operating systems, over a network or using offline migration. Moreover, you can also move your installed software, device drivers, and files, as well as sync folders remotely or locally.
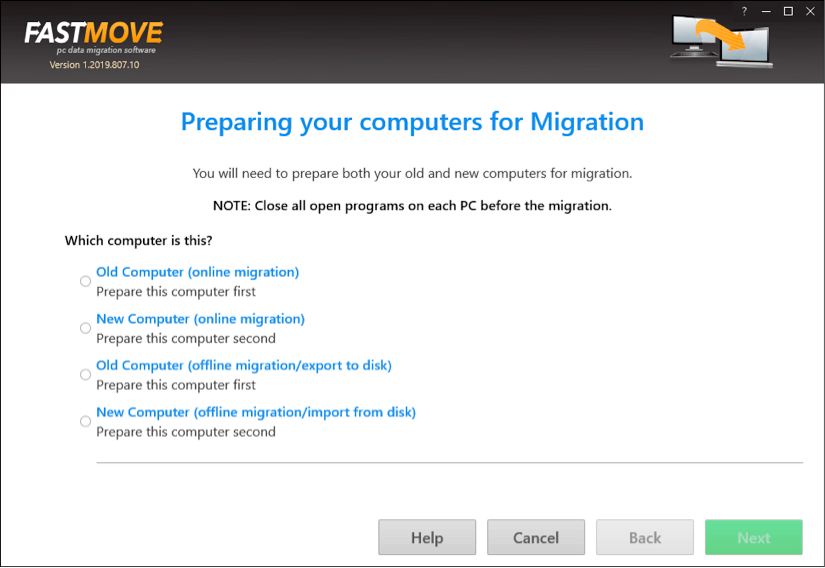
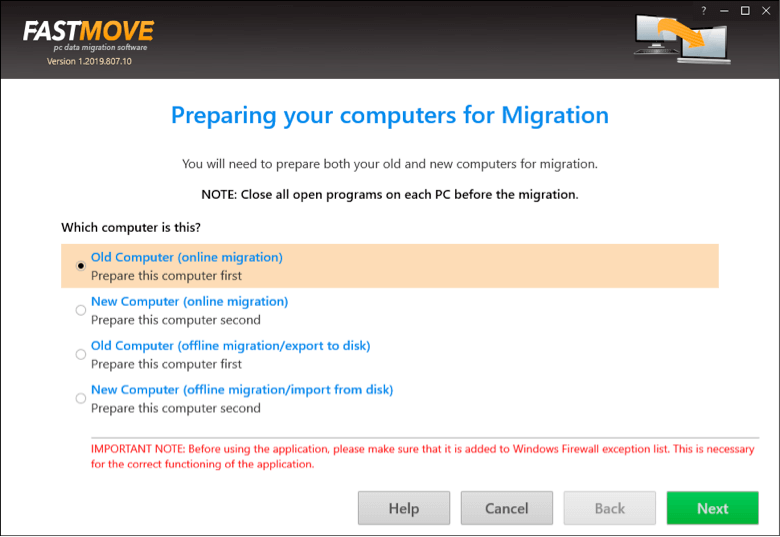
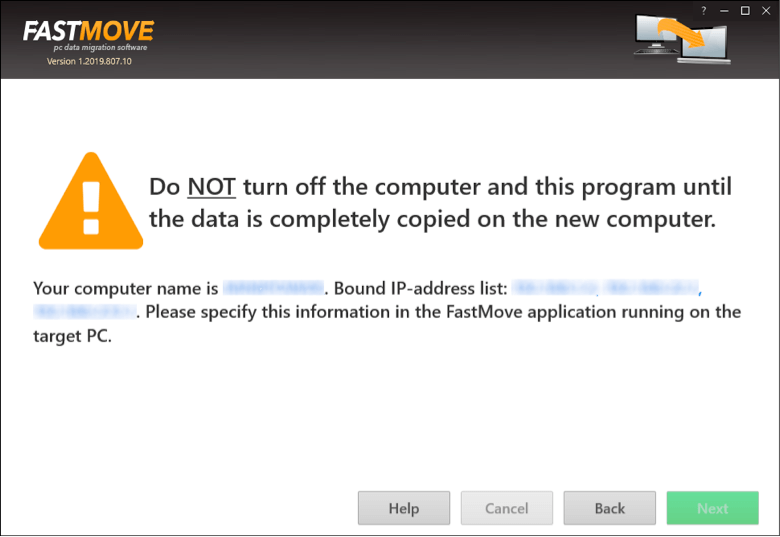
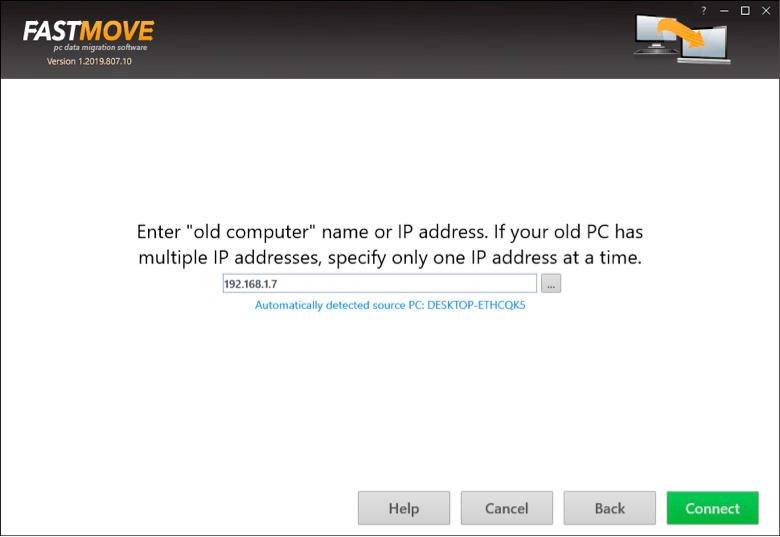
Here’s how you can transfer user profiles with FastMove:
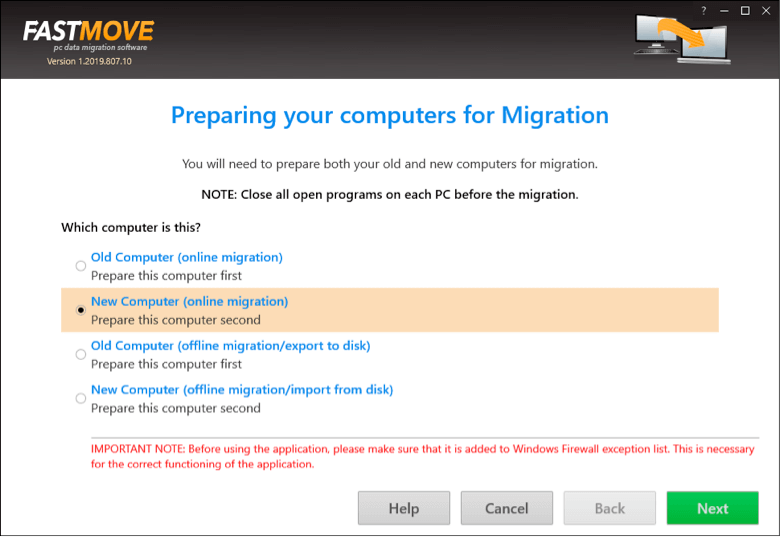
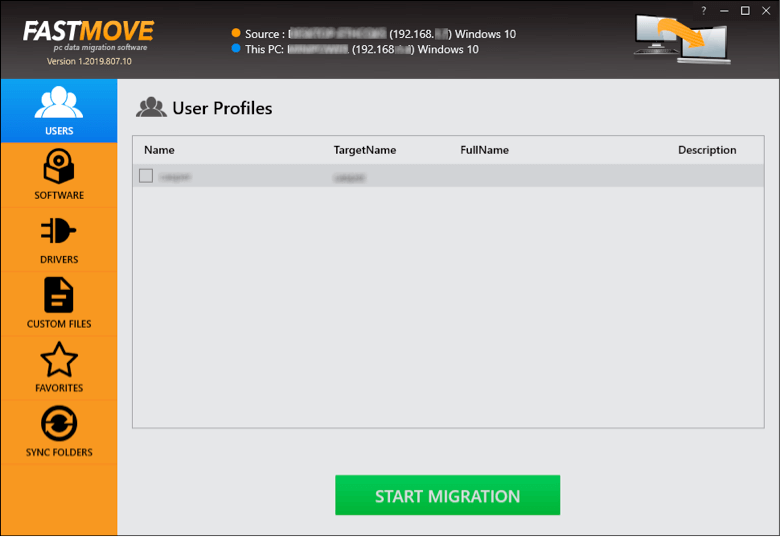
Your Windows user profile will be copied to the new computer.
As you can see, moving user profiles with FastMove is very easy and all your data will be copied to the new PC without any issues.